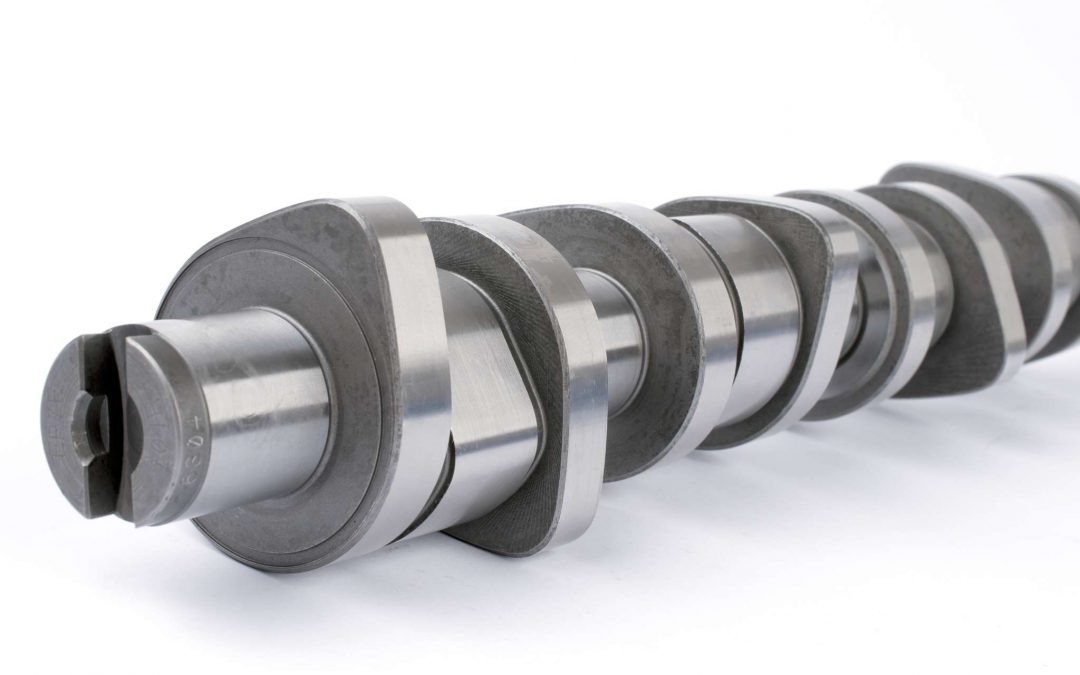
When disassembling and assembling the camshaft, it is always necessary to strictly follow the manufacturer’s instructions for the particular engine type (e.g. according to the procedure in a workshop manual). The following is particularly important (based on the engine type):
Disassembly of the camshaft
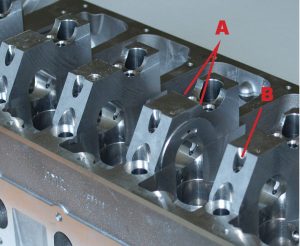 Mark the rocker arm brackets so that they cannot be switched.
- Make sure you follow the exact procedure for releasing and then tightening the rocker arm bolts (bolt A) by the prescribed torque wrench. Make sure, you put bolts in the same configuration as removed to avoid confusion. Inspect the mounting holes for the bolts and remove any residual oil and dirt.
- Follow the prescribed disassembly procedure and subsequent mounting of the bearing caps to avoid confusion with the original order. Inspect the bearing cap bolts (bolt B) for any damage (if damaged replace them).
- Check all components that are directly related to the camshaft.
- If you find out that the engine oil contains an increased concentration of metallic particles, it is necessary to carry out thorough cleaning of the oil supply an replace not only the oil and the oil filter but also the oil cooler. Check the oil pressure according to the engine manufacturer’s instructions.

Assembly of the camshaft
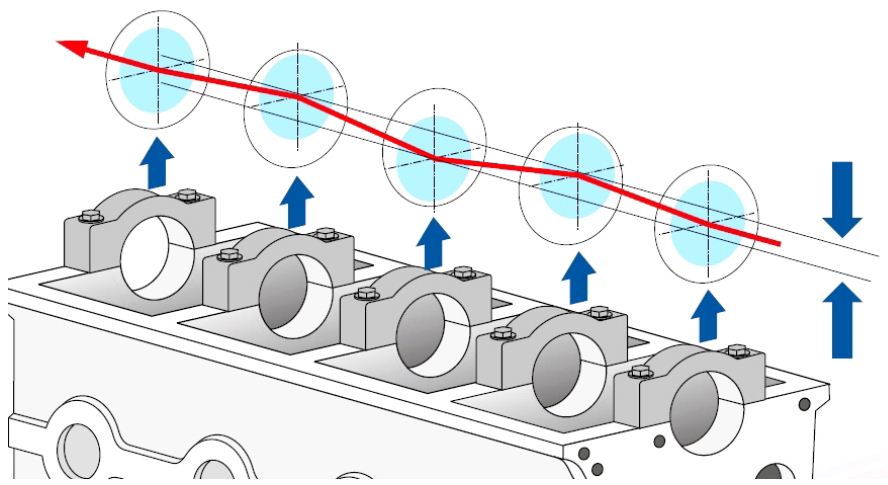
 Before assembling the camshaft (especially in to the same cylinder head), a flatness (warping) control of the cylinder head must be done. Pay particular attention to the alignment of the individual positions of the camshaft. When stowing and tightening the cam into the cylinder head, which is not in perfect alignment; it is more or less certain that you will get complications. See picture.
- Check the axial and radial camshaft clearance, which must match the values specified by the engine manufacturer. Measure the axial clearance for example by indicating gauge. The radial clearance must be measured in all positions e.g. with plastic gauge (it can be ordered under order number 50009880) see picture below. When tightened to the required torque, the cam should put up adequate and even resistance. Carry out the measurement according to the procedure specified by the engine manufacturer.

- When assembling the bearings, clean the contact areas in the cylinder head and bearing caps.
- When installing, lubricate the bearing shells surfaces and cams with the oil.
- Strictly follow the precise adjustment of the cam, when you carry out the assembly.
- Inspect the pump / nozzle unit, adjust if necessary.
- Tighten the cam hub bolt to the specified torque and ensure the thread is clean. We always recommend replacing the bolt for a new one.

NOTE: If either of these procedures is omitted or not performed, both the cam and the other engine parts can be damaged. In case of a warranty complaint about the cam, it is necessary to provide provable evidence of the measurement values as specified in items 1 and 2 of these assembly instructions. If the measurements are not available, it is necessary to provide the cylinder head for an inspection.
2,5PD – SPECIFIC REQUIREMENTS
- When assembling the cam, set the pistons almost evenly below the top dead centre (TDC). No valve must be pressed.
- Ensure that the locks of shells of friction bearings are correctly placed into the bearing cap and head cylinder.
- Strictly follow the installation procedure of disassembly and assembly of the cam driving wheel as instructed by the engine manufacturer. Inspect the gearing for the damage and potential free clearance. Before reassembling the camshaft, place the washer on the shaft correctly. Oil the entire area of the camshaft gear. Position the wheel correctly as indicated. Use the new fastening bolt.
- When carrying out assembly and disassembly of the cam, we recommend using the products specified by the engine manufacturer.
Failure to comply with the manufacturer’s recommended assembling procedure may result in damage to the cam.
NOTE: After the hydraulic tappets are installed, it is necessary to leave the engine switched off (DO NOT START THE ENGINE) for at least 30 minutes. This is because the individual elements of the hydraulic alignment must “settle”. After all the work on the valve train is done, it is necessary to rotate the motor carefully by two revolutions to check that no piston valve collision occurs after the engine is started up. Always use engine oil specified by the manufacturer.